
Disclosure: As an Amazon Associate I earn from qualifying purchases. How this site works
Nail File Grit Guide
Lower grit numbers are coarser; higher numbers are finer.
Quick answer
Nail file grit numbers count abrasive particles per square inch, so the lower the number, the coarser the file. 80–100 grit shapes acrylic and hard gel, 150–180 refines enhancements and shortens natural nails, 240 smooths natural nail edges, and 400 and up buffs to a shine.
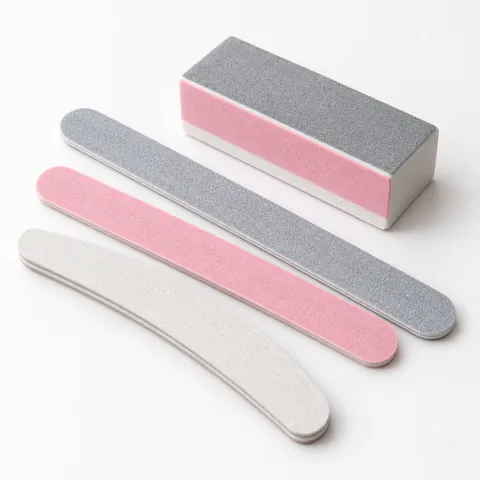 Nail files and buffers
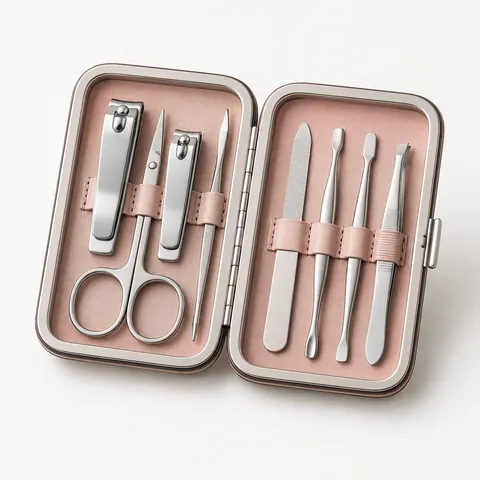 Manicure kits
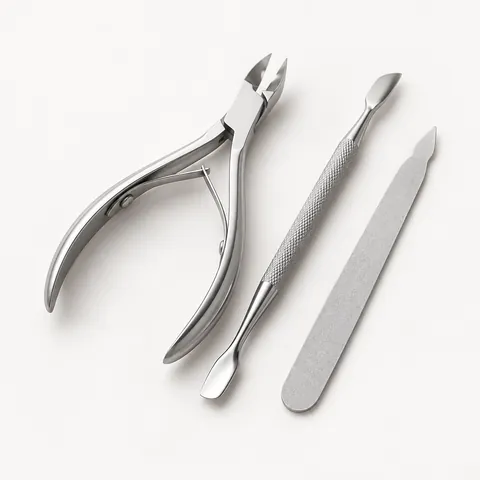 Cuticle tools
 Nail polish, base and top coats
Grit by job
| Job | Grit |
|---|---|
| Shaping acrylic | 80–100 |
| Shaping natural nails | 180 |
| Smoothing edges | 240 |
| Buffing to a shine | 400+ |
File types
- Emery boards: cheap, often single-use.
- Glass files: fine and long-lasting; easy to wash.
- Metal files: durable but can be harsh on natural nails.
- Buffer blocks: multi-sided for smoothing and shine.
Technique
- File in one direction rather than sawing back and forth.
- Shape the sides first, then the tip.
- Finish by smoothing the free edge with a finer grit.
Browse nail files and buffers by grit.
What grit nail file should you use on natural nails?
For most natural nails, 180 grit is the safest starting point for shaping because it removes length without feeling too scratchy. If your nails are thin, peeling, or bend easily, move up to 240 grit for the final shaping passes and use very light pressure. A coarse 80 or 100 grit file can take off too much keratin and leave a ragged edge on natural nails, so save those grits for enhancements.
- Shortening length: Start with 180 grit, then refine with 240 grit.
- Fixing a small snag: Use 240 grit or a glass file, and file only the damaged area.
- Very thin nails: Use 240 grit and avoid filing deep into the sidewalls.
- Toenails: 180 grit usually works well for shaping, but switch to 240 grit if the nail edge splinters.
- Peeling nails: Do not buff the nail plate heavily; smooth only the free edge and seal it with polish if you use polish.
A good rule of thumb is to use the least coarse file that still does the job. If you have to press hard or make many passes with a fine file, you may need a slightly coarser grit for the first step. If the nail edge looks fuzzy, white, or shredded, the file is too coarse, the pressure is too heavy, or both.
If you are building a small at-home kit, choose one medium shaping file and one finer finishing file rather than relying on a single coarse file for every task. You can browse nail files and buffers by grit and material if you want separate tools for natural nails and enhancements.
Nail file grit chart for acrylic, gel, dip, and natural nails
Enhancements are harder than natural nails, so they can handle lower grit numbers during bulk shaping. The trade-off is control: a coarse file removes product quickly, but it also makes it easier to create dents, flat spots, or heat from friction. Move to a finer file as soon as the main shape is close.
| Job | Typical grit range | Best use | Caution |
|---|---|---|---|
| Remove bulk from acrylic or hard gel | 80–100 | Reducing thickness and correcting uneven product | Do not use on the natural nail plate |
| Shape enhancements | 100–150 | Refining sidewalls, free edge, and surface shape | Use lighter pressure near the cuticle area |
| Blend or refine product | 150–180 | Smoothing transitions and preparing for finer finishing | Avoid over-filing the natural nail |
| Shape natural nails | 180 | Length and basic shape on healthy natural nails | Switch finer if nails are thin or splitting |
| Finish edges | 240 | Sealing and smoothing the free edge | This grit is for finishing, not fast shortening |
| Smooth the nail surface | 320–400 | Light surface smoothing before shine buffing | Too much buffing can thin the nail |
| High shine buff | 600 and higher | Polishing the surface to a shine | Skip if nails are weak or recently over-buffed |
Dip powder usually files more like acrylic than like a natural nail, especially when several layers are built up. Use a coarser file only on the dip product, then step down to a finer grit as you get close to the final shape. If you see or feel the natural nail, stop using the coarse side.
For gel polish removal, a file is used to break the glossy top coat, not to grind off the entire manicure. A 180 grit file is usually enough to dull the shine before soaking. Filing too deeply can reach the natural nail and cause weakness.
How to tell when a nail file is too coarse, too fine, or worn out
The right file should remove material at a steady pace without forcing you to press hard. If the file feels like it is skipping, grabbing, or tearing the edge, it may be too coarse for the nail. If it slides over the nail with almost no effect, it may be too fine for the step you are doing or simply worn out.
- Too coarse: The edge looks rough, the nail layers separate, or the file leaves deep scratches you cannot smooth quickly.
- Too fine: You need many passes to shorten even a small amount of length.
- Too much pressure: The nail feels warm, sore, or bendy after filing.
- Worn out: The file surface looks shiny or smooth, and it stops cutting evenly.
- Contaminated: The file has nail dust, product residue, or moisture trapped in the surface.
Disposable emery boards should be replaced often because they are hard to clean thoroughly and lose grit with use. Washable glass files can last much longer if you rinse away nail dust and store them where they will not chip. Metal files are durable, but they should be used carefully on natural nails because a rigid, aggressive surface can encourage splitting.
Do not share files that cannot be properly washed and disinfected. For home use, it is smart to keep separate files for natural nails, toenails, and enhancements. Labeling files by grit with a marker can prevent accidentally using a coarse enhancement file on a natural nail.
Step-by-step: how to file nails without splitting the free edge
Filing technique matters as much as grit. A gentle file used the wrong way can still weaken the edge, especially on nails that peel or break at the corners. Work slowly and check the shape often instead of trying to correct everything in one pass.
- Start with dry nails. Wet nails are more flexible, so the layers can bend and split while you file.
- Choose the shape before you start. Round and squoval shapes tend to leave fewer sharp corners than a very square shape.
- Hold the file flat against the free edge, not tilted steeply under the nail.
- File from the outside edge toward the center using short, controlled strokes.
- Switch sides and repeat from the other edge toward the center.
- Check both hands from the palm side and the top side to make sure the lengths match.
- Use a finer grit, such as 240, to smooth the edge after shaping.
- Run a fingertip lightly along the edge. If it catches, smooth only that spot rather than re-filing the whole nail.
If you prefer a square nail, soften the corners slightly so they do not catch on fabric or hair. If your nails peel, avoid filing the sidewalls too deeply because that can weaken the stress points where breaks often start.
After filing, brush away dust and apply cuticle oil or hand cream if your nails feel dry. Moisture will not repair a split edge, but it can make the surrounding skin and nail plate feel more flexible and less brittle.
How to choose between a file and a buffer
A nail file changes length and shape. A buffer changes surface texture. Mixing up the two is a common reason nails become thin or shiny in spots. Use a file on the free edge, and use a buffer only when you need to smooth ridges, remove light surface scratches, or create shine.
If you wear regular polish, avoid polishing the nail plate to a high shine right before applying base coat. A surface that is too slick may not hold polish as well. A light pass with a fine buffer can smooth the surface, but heavy buffing can thin the nail and make polish wear worse over time.
- Use a file when you need to shorten length, fix a corner, or shape the free edge.
- Use a buffer when you need to smooth mild texture on the nail surface.
- Use the coarsest side of a buffer sparingly, especially on natural nails.
- Stop buffing if the nail feels hot, tender, or flexible.
- Replace a buffer when the sides become smooth, clogged, or uneven.
For enhancements, a buffer can help remove file marks before polish or top coat. For natural nails, treat buffing as occasional finishing, not a daily habit. If you can see deep ridges, discoloration, pain, or lifting, skip filing the nail plate and consider checking with a licensed nail professional or medical professional.
Frequently asked questions
What do the numbers on a nail file mean?
They are grit numbers: the number of abrasive particles per square inch. Low numbers (80–100) are coarse and remove product fast; high numbers (240 and up) are fine and gentle on natural nails.
Is 100 grit too rough for natural nails?
Yes, 100 grit is usually too rough for natural nails. It is better suited for shaping acrylic, hard gel, or other enhancements where you need to remove product quickly. For natural nails, start around 180 grit and finish with 240 grit if the edge needs smoothing.
What nail file grit is best for gel polish removal?
Use a file only to remove the glossy top coat before soaking off gel polish. A 180 grit file is usually enough for this step. Stop once the shine is dulled; do not keep filing into the color layers until you reach the natural nail.
Can I use the same nail file for acrylic and natural nails?
You can, but it is better to keep separate files by purpose and grit. A coarse acrylic file can be too aggressive for natural nails, especially if you grab it by mistake. Separate files also make cleanup easier and reduce the chance of spreading residue between products.
What grit file should I use for thin or peeling nails?
Use a fine file, usually 240 grit, and apply very light pressure. File only the free edge, not the nail surface, and avoid deep work at the sidewalls. If the edge keeps peeling, shorten the nail slightly and smooth the layers rather than trying to buff the peeling area away.
How often should I replace a nail file?
Replace a disposable emery board when it stops filing evenly, looks smooth, bends, or has visible buildup. Washable glass files last longer, but they should be replaced if they chip or develop rough damaged spots. Any file that cannot be cleaned or has been used on a damaged or infected nail should not be reused.
Disclosure: As an Amazon Associate I earn from qualifying purchases. This site may earn a commission when you buy through its links, at no extra cost to you. Product details come from public manufacturer information; always check the merchant page for current specifications and prices. We have not hands-on tested the products described here.